


Walk Ways And Base Of Tunnel

Updated: Apr 2, 2020
To begin this week off I began by drawing out a plan for measurements and structure. Using my original design from my prototype I created at the beginning of term, I was able to adapt and rectify the original measurements to fit far better than they did before. I have also been able to add extra support to prevent the walkway from dipping or becoming angled. Below are my new measurements I have been working to which have fit really well inside my model.

Here is my first attempt at making the straight part of of the tunnel working to these measurements. It has worked really well and fits perfectly inside the tunnel.

I have now completed the two sections of straight tunnel, my next task was to work out the walk ways for the curved/corners of the tunnel. To start this I mapped out on tracing paper the straight lines which connect at the measurements I had. From this I was able to use a trammel which allowed me to work out the curved lines. I divided the sides into sections for it to be transportable. I then traced these sections from the tracing paper onto 5mm MDF which I took to the workshop and used a jigsaw to cut out. I took the panels onto the band saw to refine my lines.
I sourced some wood that I could use for wedges to attach the face of my wood to, I cut these out 3cm x 1cm. I marked along the edge 5mm away from the edge so that I could start glueing these wedges down to the bottom of the top section of path, this is what will hold the flexibly onto the sided of the path. I used clamps to hold the wedges on while they dried.
Following on from this I began taking the measurements I needed of the flexibly to attach to the sides which get the extra 4cm in height to the sides. Once I had cut these out I applied wood glue and clamps once again to make sure they were fully secured on. Once the glue was somewhat dry I used a nail gun to attach through the wood and wedges to allow extra strength.
Once I had completed all panels I took them to the sanding machine to get rid of any ridges that would show along the edges. Next I began making triangular wedges with a 90 degree angle to allow the side panels to sit up straight and be supported.
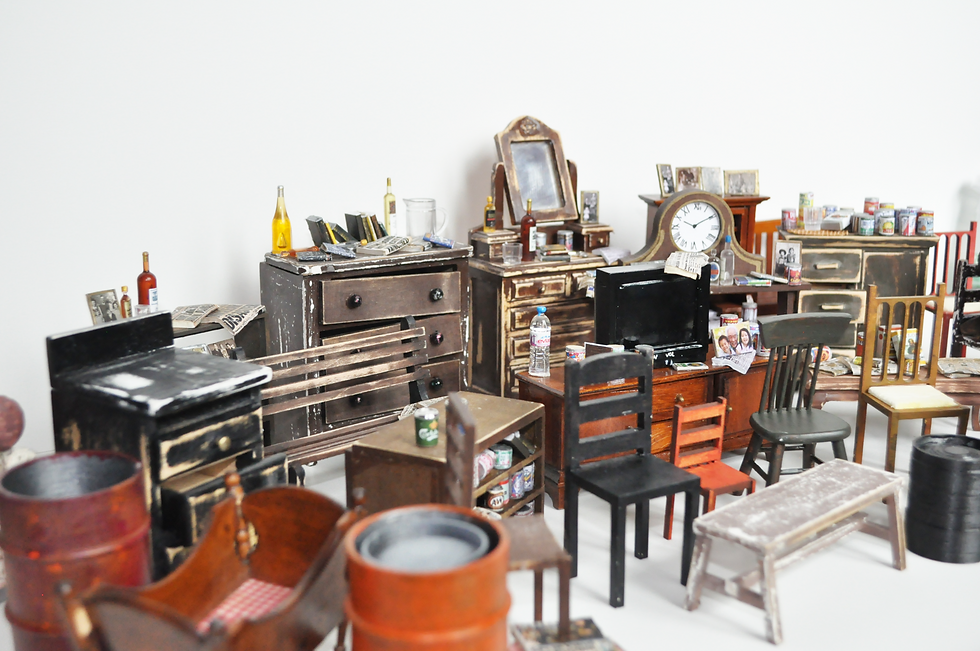
By Thursday I was able to complete 6/10 panels, throughout the day Friday I was able to complete the remaining 4. On top of this I was able to create all of the acrylic bottom to the structure. My intention for this is to complete the base by priming and painting and creating the same base as in my original model box which lights up from beneath, image Below of original model box.


I have also created some extra stands to help support the upright position of the walkway. The stands have a flat bottom and flat top to allow a 90 degree angle to make sure they sit straight. I have attached these using No Nonsense wood glue. I attached the walkways to the acrylic base using a hot glue gun, which as done the trick. This will also help to stop any liquid leaking out later on.


Comments