


Painting Many, Many Bricks

Now that all of my foam bricks are fully secured onto the structure of the tunnel, as well as coated in 'Rosco' foam coat, find link here - https://emea.rosco.com/en/product/foamcoat. Now the bricks are ready for the base layer to create the mortar colour and darkness to contrast the brick colour. I mixed up Sea-white and David & Rowney acrylic colours (Black & Burnt Umber). I watered this down by 40% water to make the mixture would get into the crevices that the paint wouldn't quite reach. Using a medium sized painting brush I coated all for tunnels with the same method. I left these to dry for 24hrs to make sure they were no longer wet.

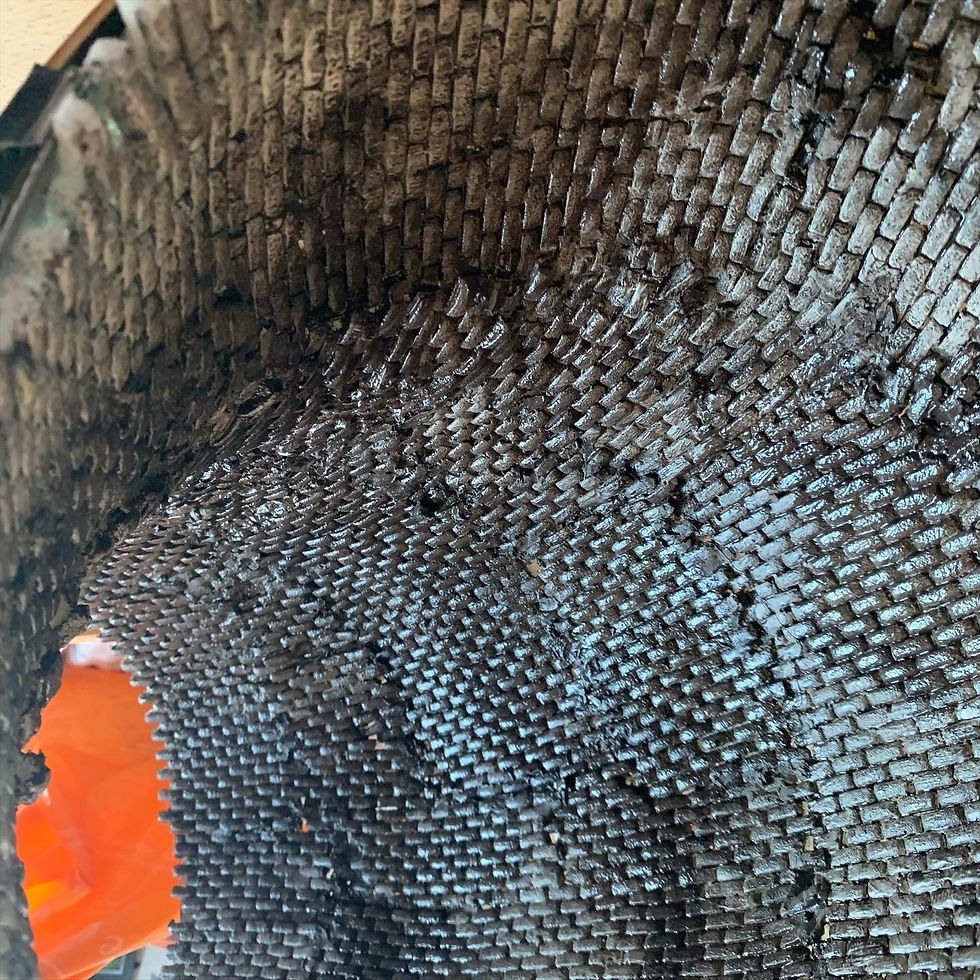

Once the inside had dried, I took the two pieces to my tunnel that were made from clear plastic, outside and used a 'Black Satin' spray paint- From Halfords. Each piece took about 2 coats to be fully covered. The reason for this is to black out any light coming through the plastic/ foam to the inside when in different environments. I found even with minimal lighting without the black, light was considerably noticeable. So this made an easy fix.

Once dry this spray paint dried matte black.
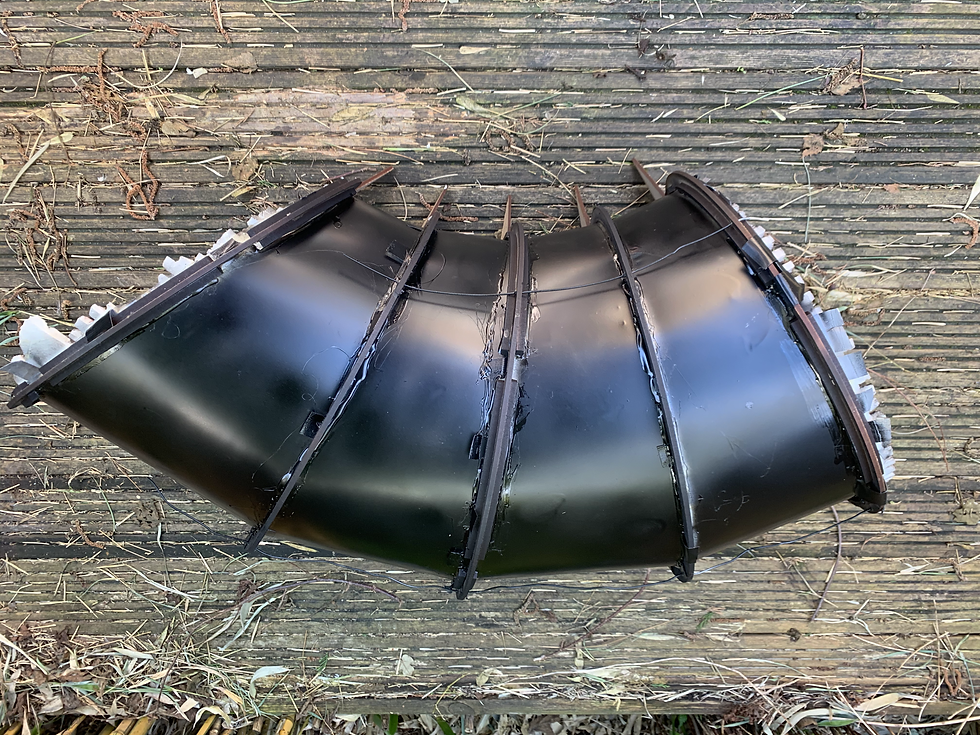
I wanted to make sure that the LED lights I have still work, as well as the colour changing available on them. I am happy to say they still work!
Before Black Spray Paint -------------------After Spray paint, no more light visible.
I spent many, many hours painting thousands of bricks, it took me four days to finish all four sections of the tunnel, painting brick by brick. I used acrylic paints to colour the bricks a it leaves a shiny surface, which is what I really like about it, in curtain lights the bricks look wet/ moist which it would be in a sewer environment. Now that the bricks have been painted, you can really see the textures between the different foams. I really like this as in many old structures varieties of different bricks would have been used. Also the imperfections between the foam do appear as a shifted structure, old architecture shifts over time, and with the weight of been underground the tunnel would definitely move over time.
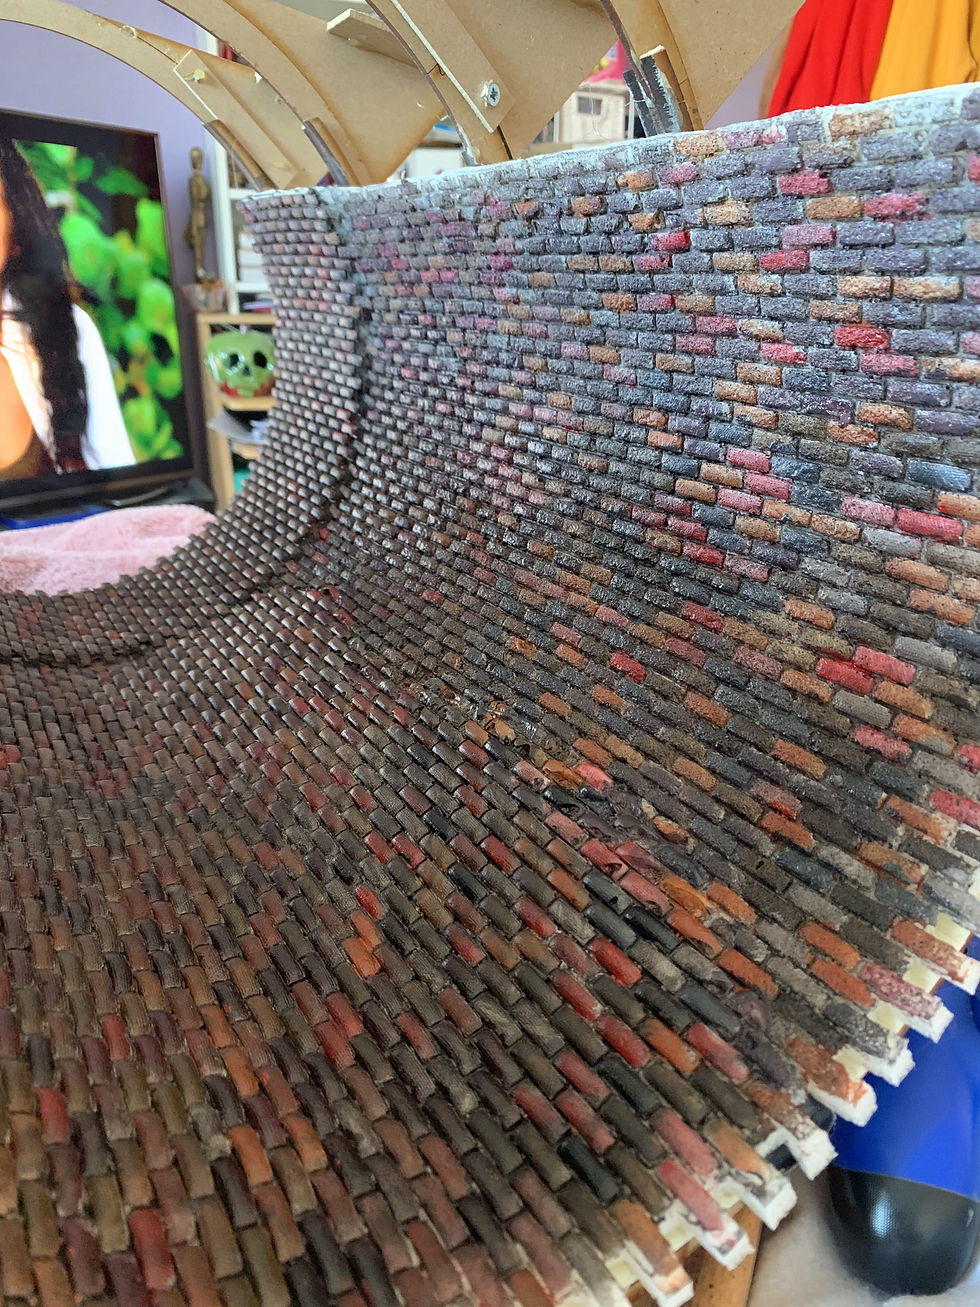
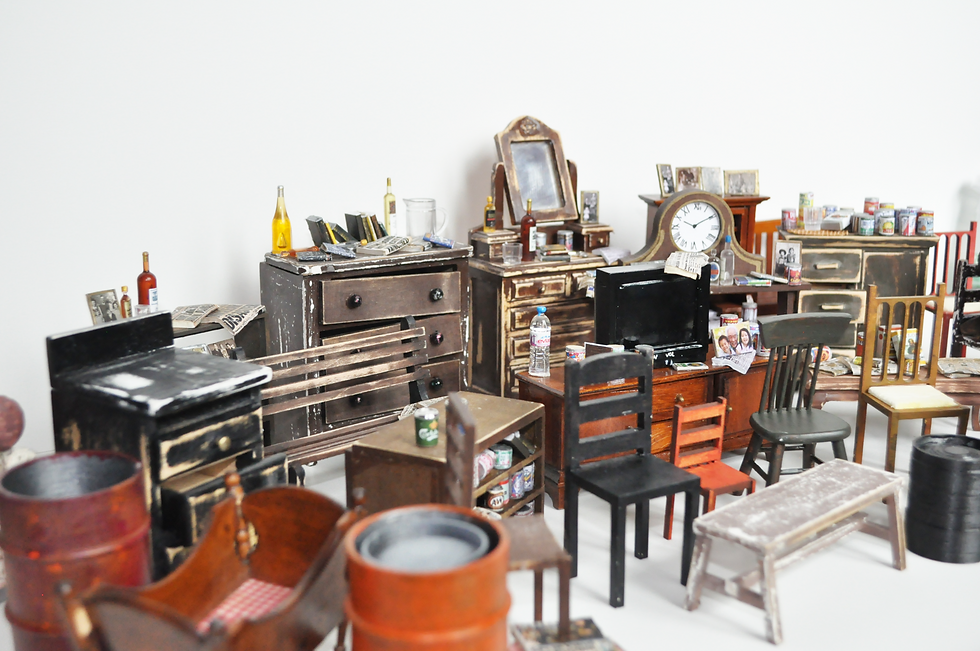
I tried to keep the bricks to a similar colour scheme with a more red hue to the overall look. The image below is how the overall appearance of the inner tunnel now looks with some pieces of furniture in place.



Comments