


Experimenting With Foam

I began thinking of my approach to the corners/ curvature of the tunnel, how I could structure them making them a smooth curve. After speaking with Fiona Williams, Fiona suggested trying to use a soft foam to allow the surface to bend nicely. This way I wouldn't need to make the Kapa-line foam board bend in awkward ways.
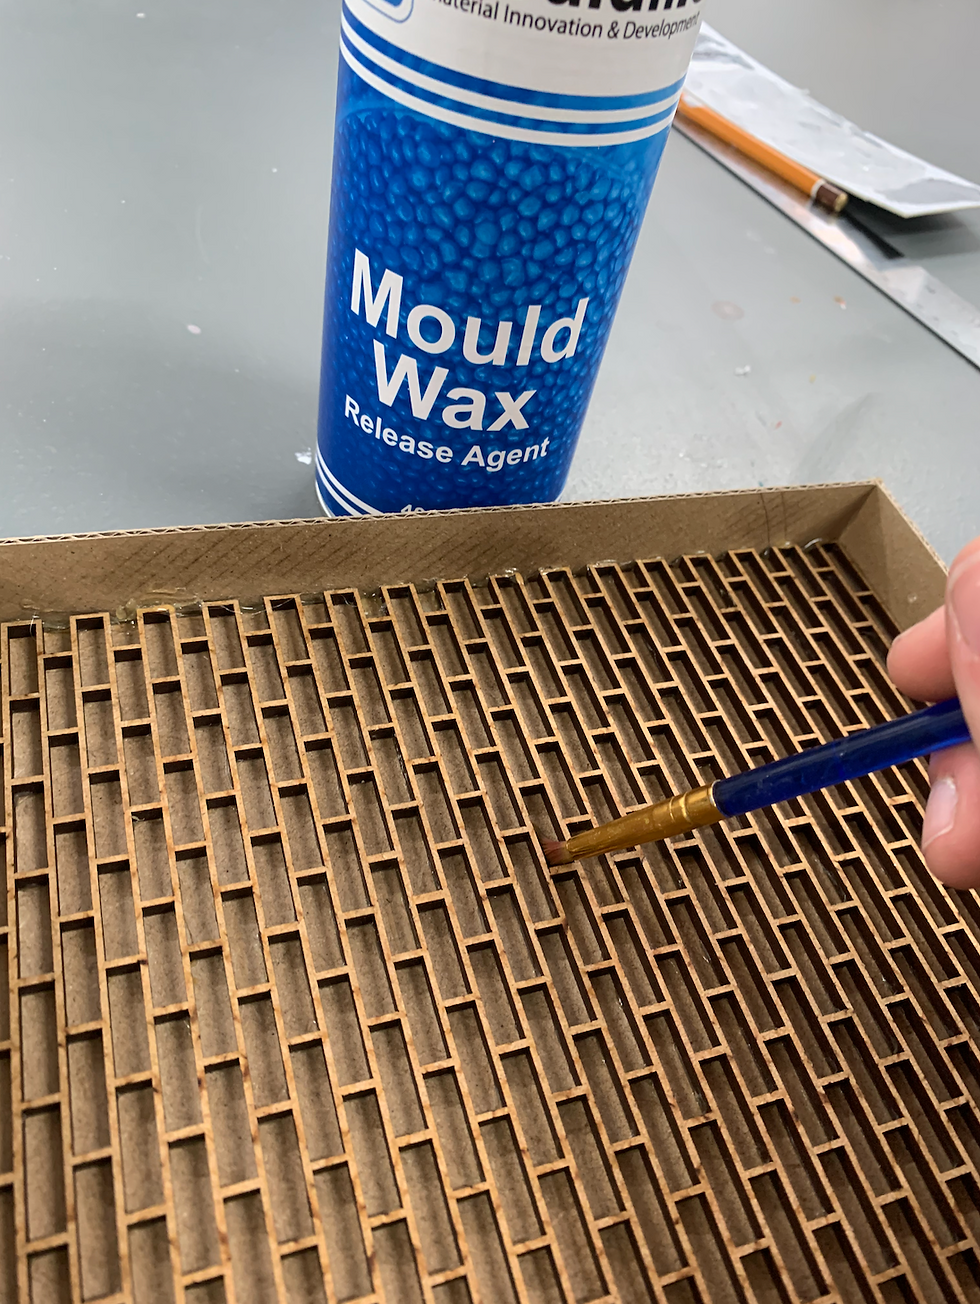
To begin this process using one of my older brick templates I glued this down to a piece of wood to create a seal between the two and glued 4 walls onto the mould. Using a mould release agent from Mouldlife, made using a spray wax, I thoroughly sprayed the mould multiple times and using a paint brush I made sure all areas were covered.
Here is the two part soft foam I used for my first experiment, the brand Notcutt- Soft Foam 010, Sold by Tiranti labelled - Self Skinning, Flexible, Polyurethane Foam. Mixing a ratio of A -1/ B- 0.5.
I mixed up at a ratio 80:40 and poured this into my mould to allow it to fill.
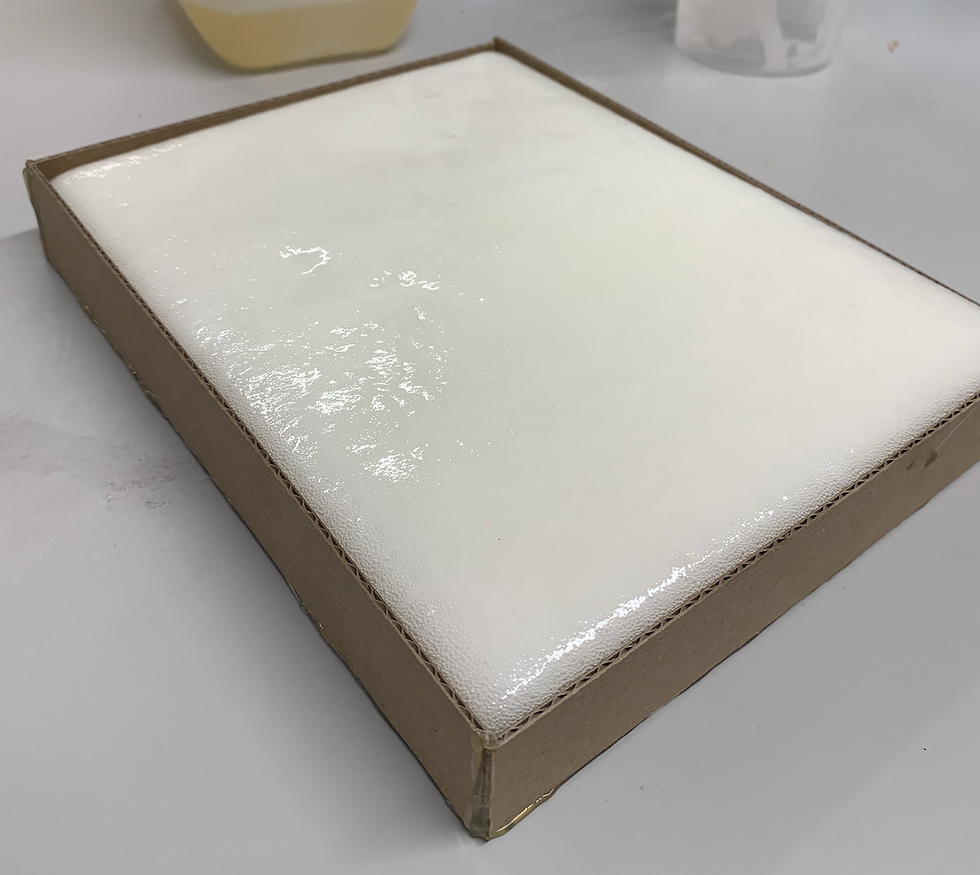
This first experiment didn't go to plan, unfortunately the foam wouldn't release from the mould even with the several coats of wax release. I have learnt from this however that for in the future soft expanding foam makes a great snow effect!
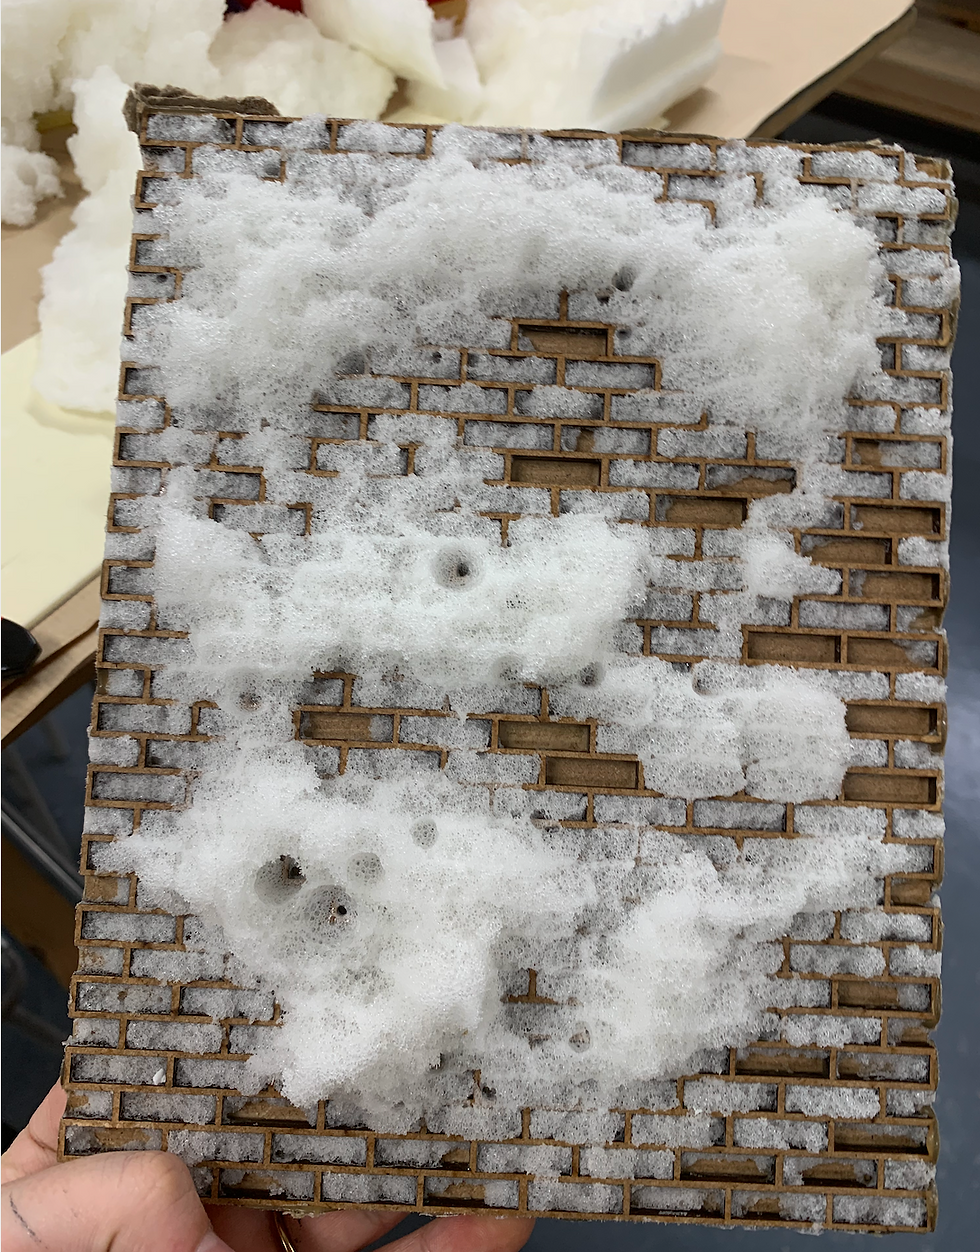
My next experiment was to create a positive mould to create the silicone negative...however this second experiment also didn't quite go as planned. Because I had decided to use my template from the brick pattern to glue down my bricks, ones all of the bricks had been glued down and dried, I couldn't get the template back off of the mould. The MDF was only chipping away at the sides, stopping me from being able to remove it.
Following on from the past two experiments failing, I instead tried using a more rigid material being Plaster. I coated my brick template thoroughly in vaseline to make sure that it would come out of the plaster mould. To make sure the plaster mould would crack or split I placed several pieces of burlap inside the plaster. I also left a piece looped hanging out of the plaster to use as a handle to be able to pull the plaster away from the mould.
Unfortunately the MDF template didn't come of in one piece, I had to chisel it out which I had to be really careful with, not to crack any of the bricks. I did accidentally have a few casualties with some bricks falling off, however I was able to recover these by sticking pieces of wood down and building the pieces up with clay.
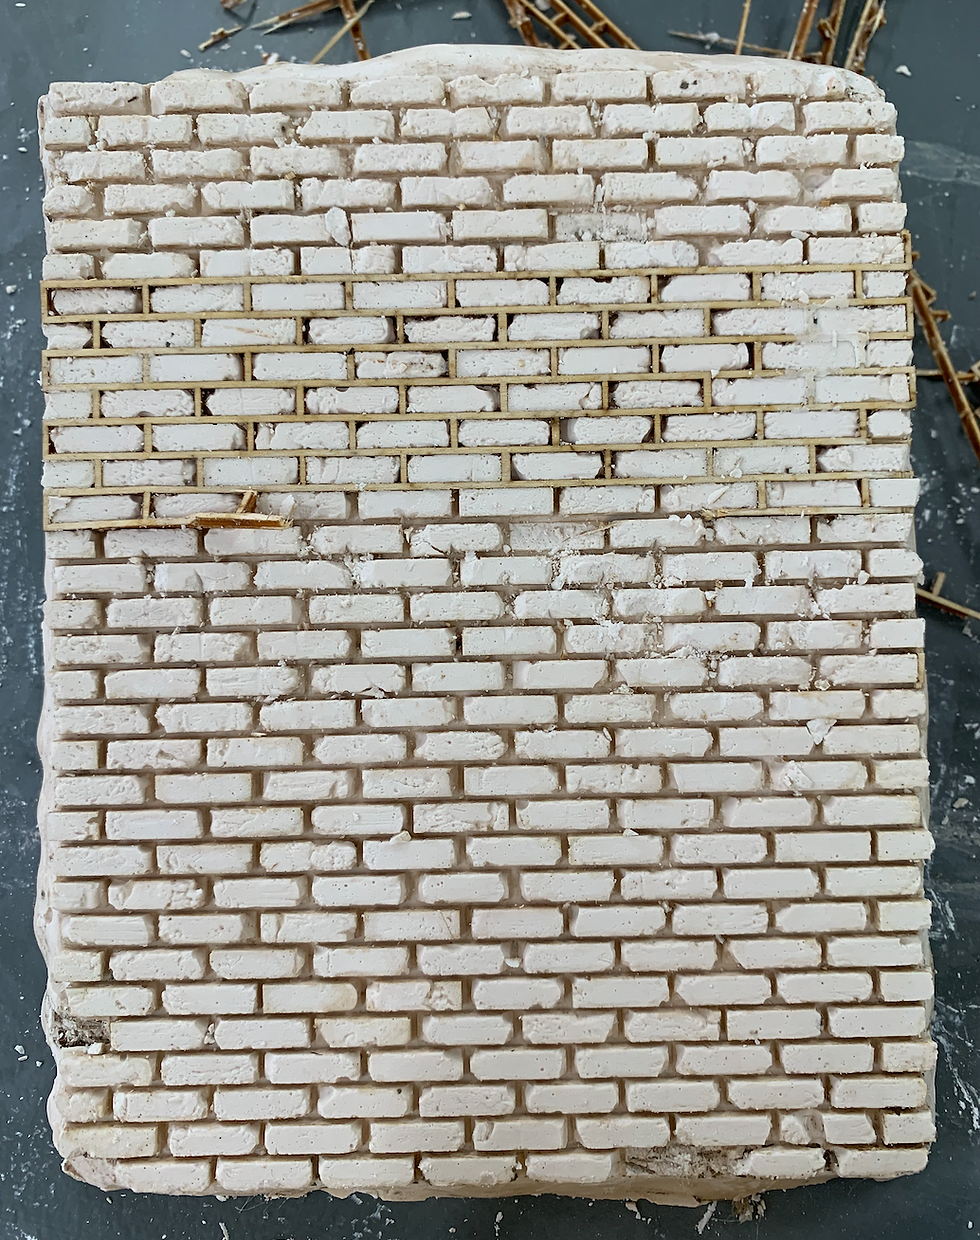
I then built up a wall around my clay mould, making sure there were no gaps for leakage, also making sure it was level. I covered the plaster in a release agent to make sure the silicone comes off. Once I was sure of no gaps I poured in my silicone and let it set for 24 hours.
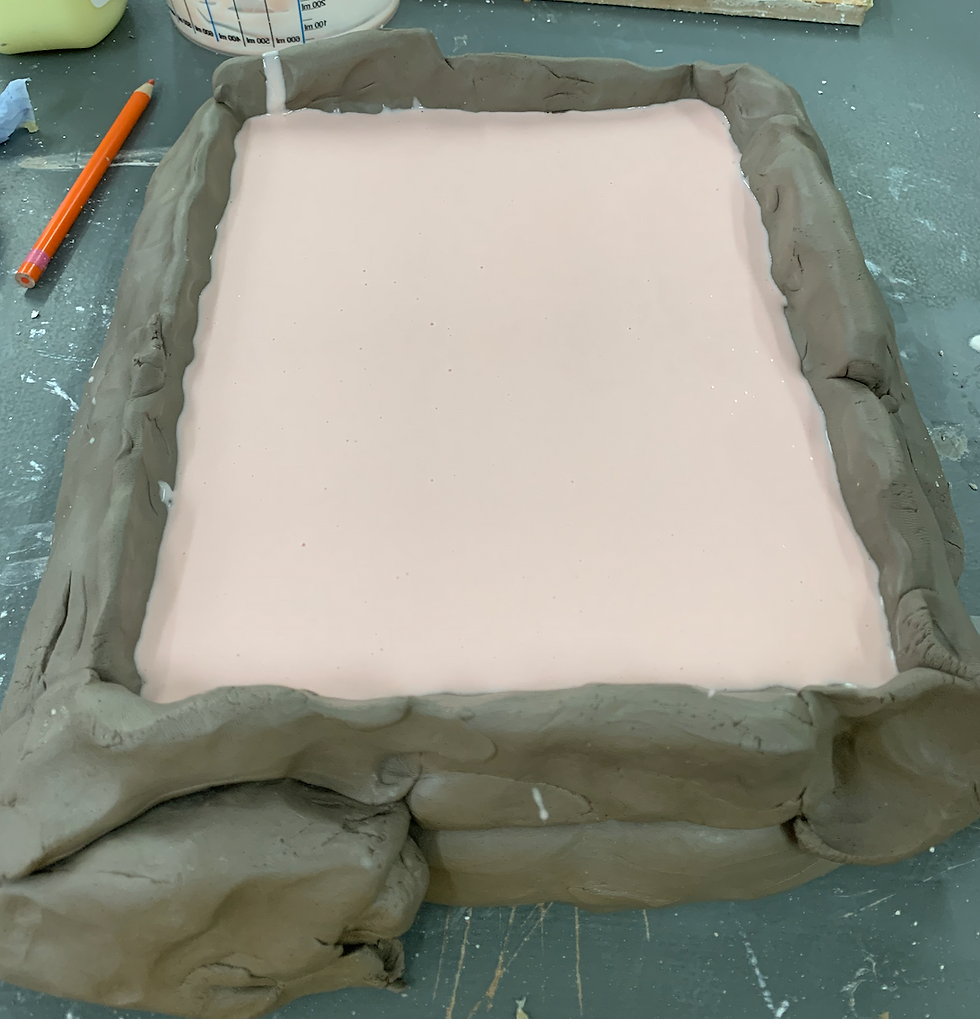
This is how my silicone mould came out, I am really happy with the outcome from this process. It has given the mould texture which gives it a nice worn down effect. I cleaned my mould out and trimmed the edges to make it a neater a more usable.
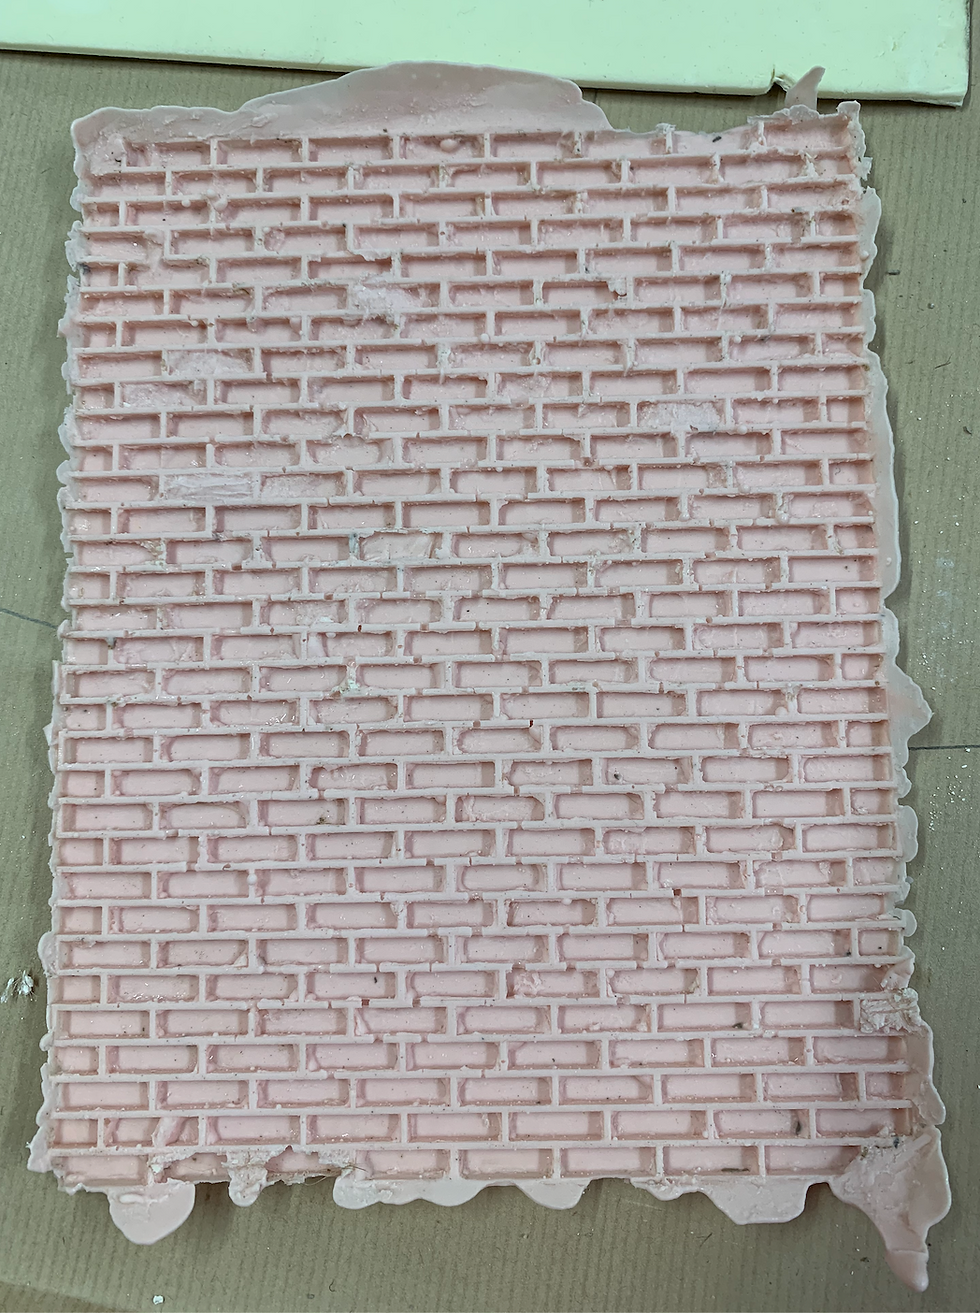
To make a cleaner mould I created a frame, base and top out of wood to hold everything in place. This allowed me to control the thickness of the expanding foam by applying weight onto the top of the mould. I covered all wood in clingfilm to prevent the foam from sticking.
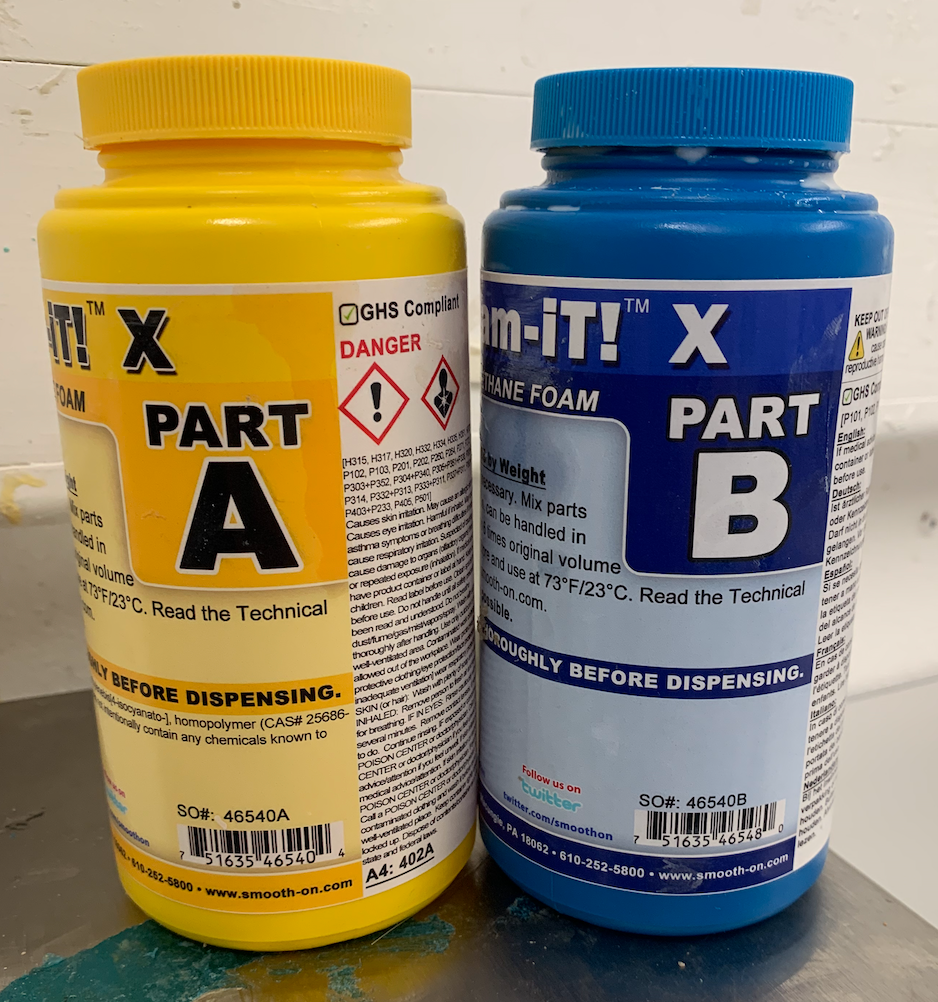
This is the two part foam I tried next by the brand Smooth-On (FlexFoam-It! X) This one came out a bit more stiff and bit more dense than the first foam sample which I prefer... however the amount of foam I need, this would be the more expensive option for the amount I need. From research the company only sell this foam in this size.
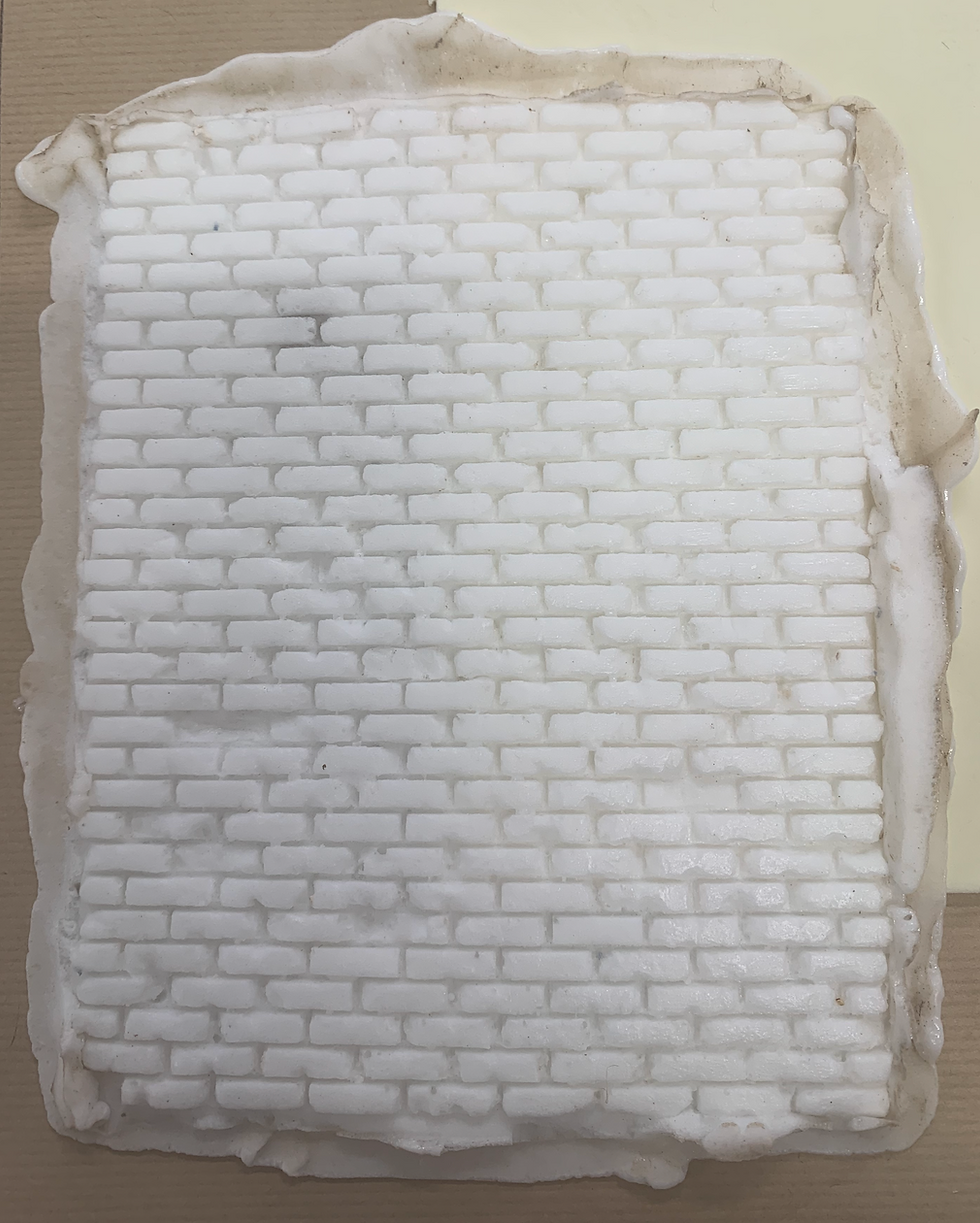
This is the outcome of my second sample.
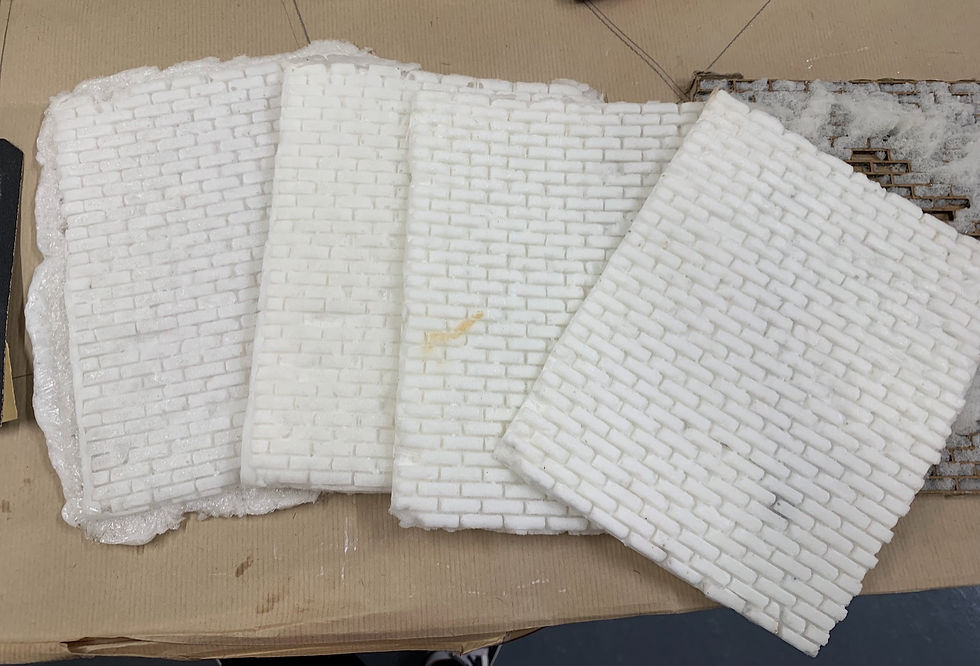
Here are all of my sample put together including my (Mouldlife PRO-CELL S4 Low Density Soft Foam). This foam is the in between density of my first two samples of Smooth-On FlexFoam-It! X and Notcutt- Soft Foam 010, Sold by Tiranti labelled - Self Skinning, Flexible, Polyurethane Foam.


Comments