


Creating The Sewage
- Melissa Wilson

- Feb 2, 2020
- 2 min read
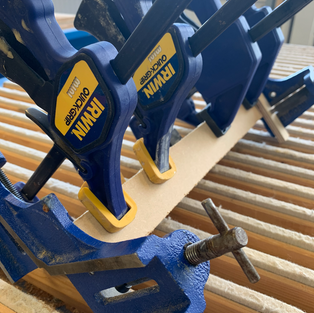
I created a base for my model that would house the sewage as well as be the camera track. Using 4mm MDF I cut 2 x side panels, 2 x side (Top) panels and 1 x floor panel. Using clamps and Gorilla Wood Glue I was able to get the panels placed correctly together. At some point on one side the right angle the wood is ament to sit at had shifted, causing one side of the base to be wonky, I need to aim to fix this as a possibly repeating issue.





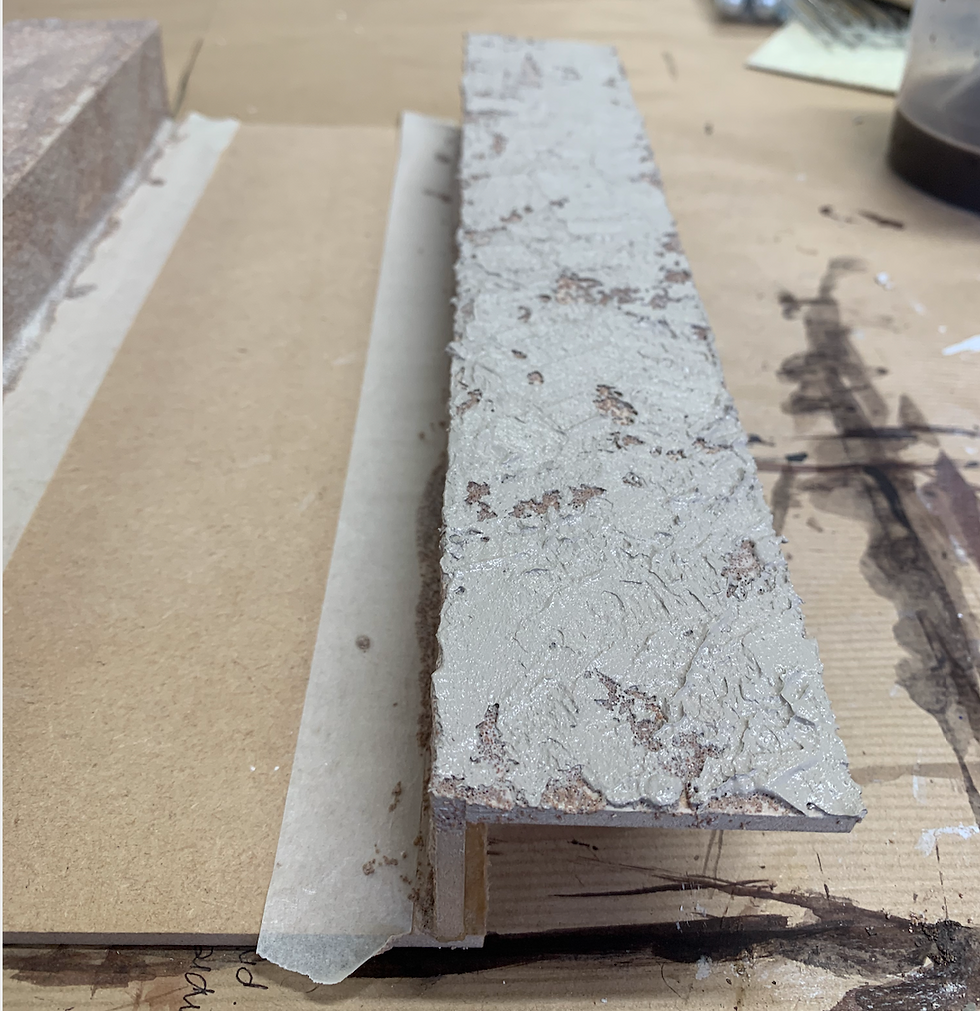
I wanted to create texture on the (Walk Ways) or top section of the sewer, I wanted it to appear as worn away/ damaged concrete. To create the effect that I wanted I made a mixture of Artex, PVA, Water and ground up almonds. Using a pallet knife I put a layer of this down over the top and sides of the wood making this the base layer. I then used Vallejo Thick Mud Acrylic, again applying with a pallet knife to create a smooth surface. I left some areas bare of this to create the worn away effect.
Creating The Sewage
From past experiments I decided to use the Artex, PVA, Sawdust, Vermiculite and water. I think this is the most effective way to create the nastiest looking mess I could which would represent the sewage. To add to the colour of the sewage I added Raw Sienna and Grass Green which has created this dirty green.

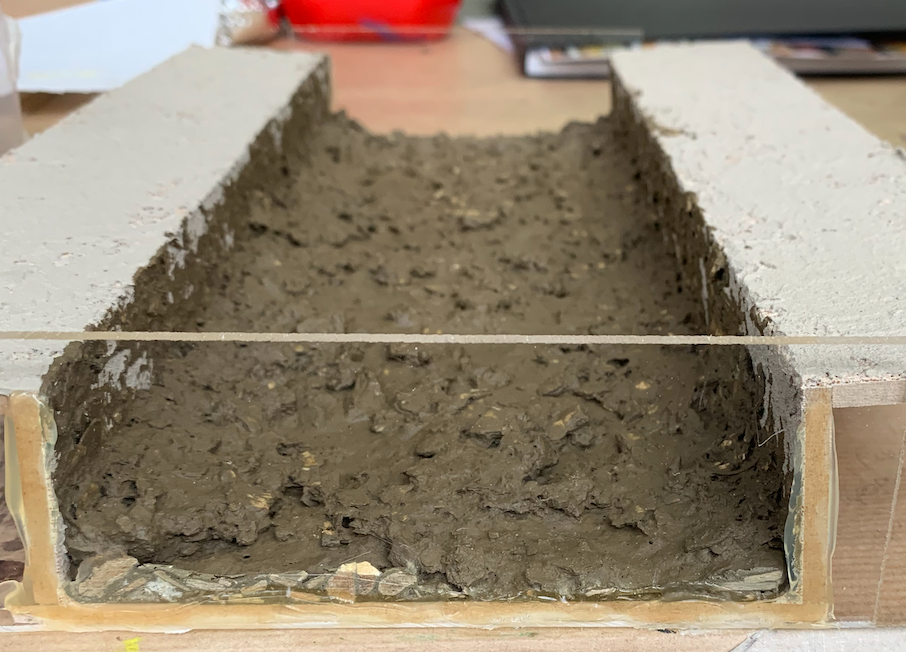
I applied a layer of this mixture to the base of the sewer, taping off the ends. I let the first layer dry which took about 24hrs, once completely dry I made up a new mixture but made it thicker with more sawdust and vermiculite to create think lumpy sections of the sewage. This added a lot of depth to the surface, as well as the smearing along the edges of the raised platform.





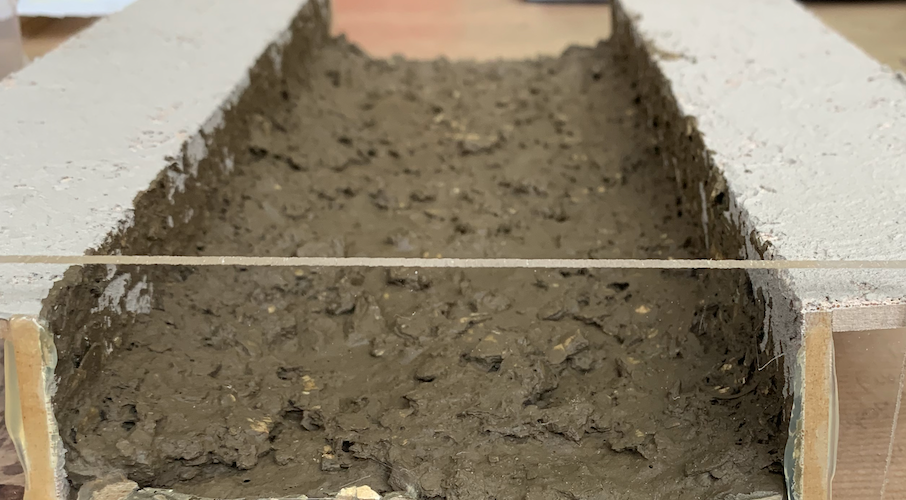

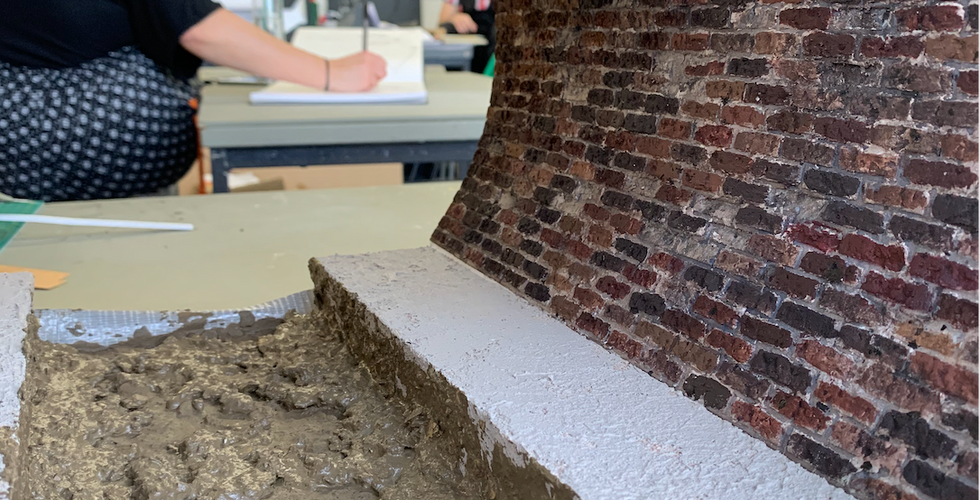
To make the sewer even more believable I wanted to add some wet/watery surface. To do this I knew that resin was the answer, using a clear non-tinted resin. I needed to seal the part which I wanted to pour resin into. For this I cut up some spare pieces of perspex and hot glued them to the faces of the base, following this I also used the hot glue gun to seal around the edges of the wood, just in case of any leakage.
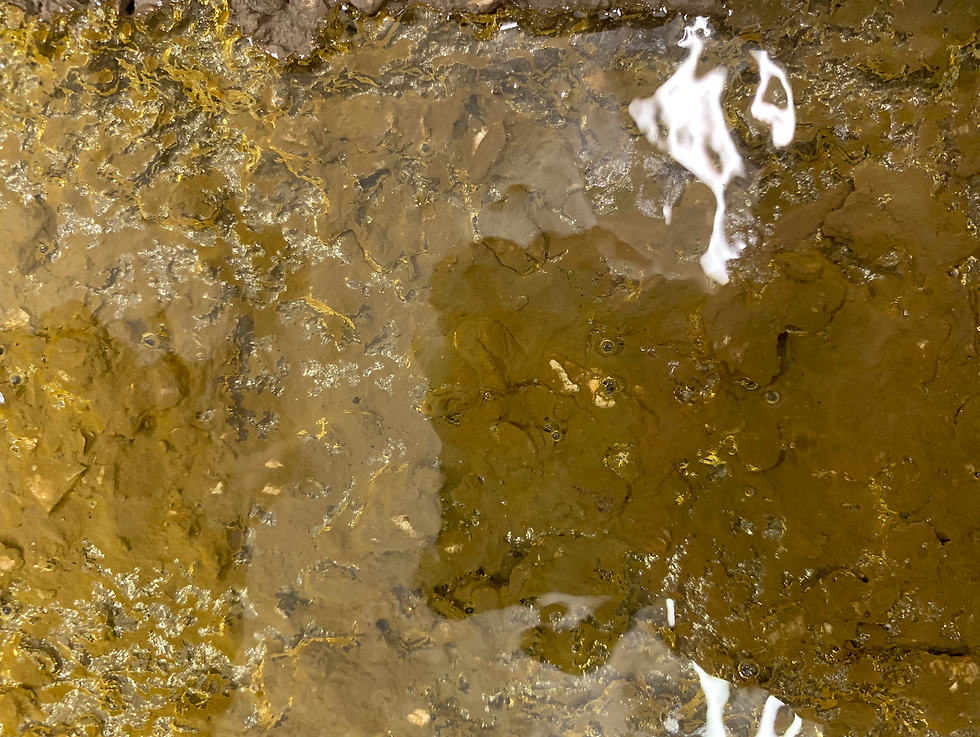
I mixed up 300ml of Water-Clear resin, and poured it into my base and I used a heat gun to pop any bubbles that appeared on the surface. I found the process very easy and straight forward. However, a few hours later I went to check on my resin and it appeared that the underneath had crystallised, perhaps in air pockets? It has added some sort of texture to the underneath which I quite like. I have also found that somehow the resin which contained no pigment, has developed a yellow tint. This is possibly something to do with the Rosco paint I used in the base. It has given my piece a very interesting effect which I think is quite effective.

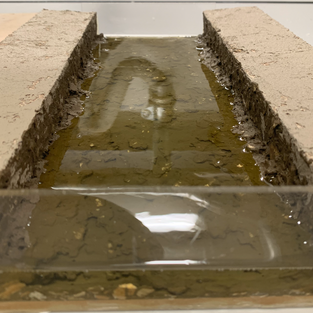



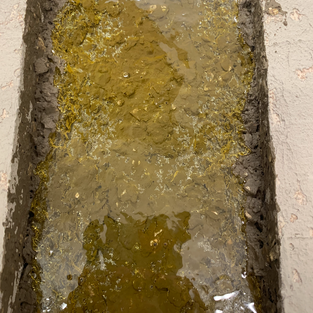
Here is some before curing and after curing pictures to show the effects.


Comments