


Creating Surfaces- Button Varnish & Artex
- Melissa Wilson

- Jan 18, 2020
- 2 min read
On Thursday I had a tutorial with (Prop & Costume Maker) Fiona Williams. We spoke about different ways I could add texture to the walls of my brick tunnel like wetness, dirty and grime build up. The first method Fiona recommended is 'Button Varnish', usually used for ageing painting.

I cut up some pieces of wood to create samples of how the the button varnish will appear on the surface. Using a paint brush I was happy to throw away (Paint brush will not be usable after), I dripped the button varnish onto the wood and let it trickle down. While wet Fiona said to create a gooey, water damaged effect to get a wet paint brush and flick a lot of water onto the surface while holding it upright. (Below) You can see the effect this has of a water damaged, damp look. I could add a gloss onto the surface to make it look wet.

Here is my second experiment completed between myself and Fiona. Using a mixture of Artex, PVA and Water to create a liquid.
Mixture:
Artex 1/2
PVA 1/2
Water- add until consistency is like icing or pancake mixture.
Things to add into mixture...
Sawdust
Vermiculite
Ground Up Almond
Sand
Anything that would fit what you want it to look like.
Mix together to consistency desired, use a flat surface like a pallet knife or fillers knife to apply. Keep tool flat to the surface and apply in layers to create a realistic looks. Leaving spaces clear also makes it more believable.

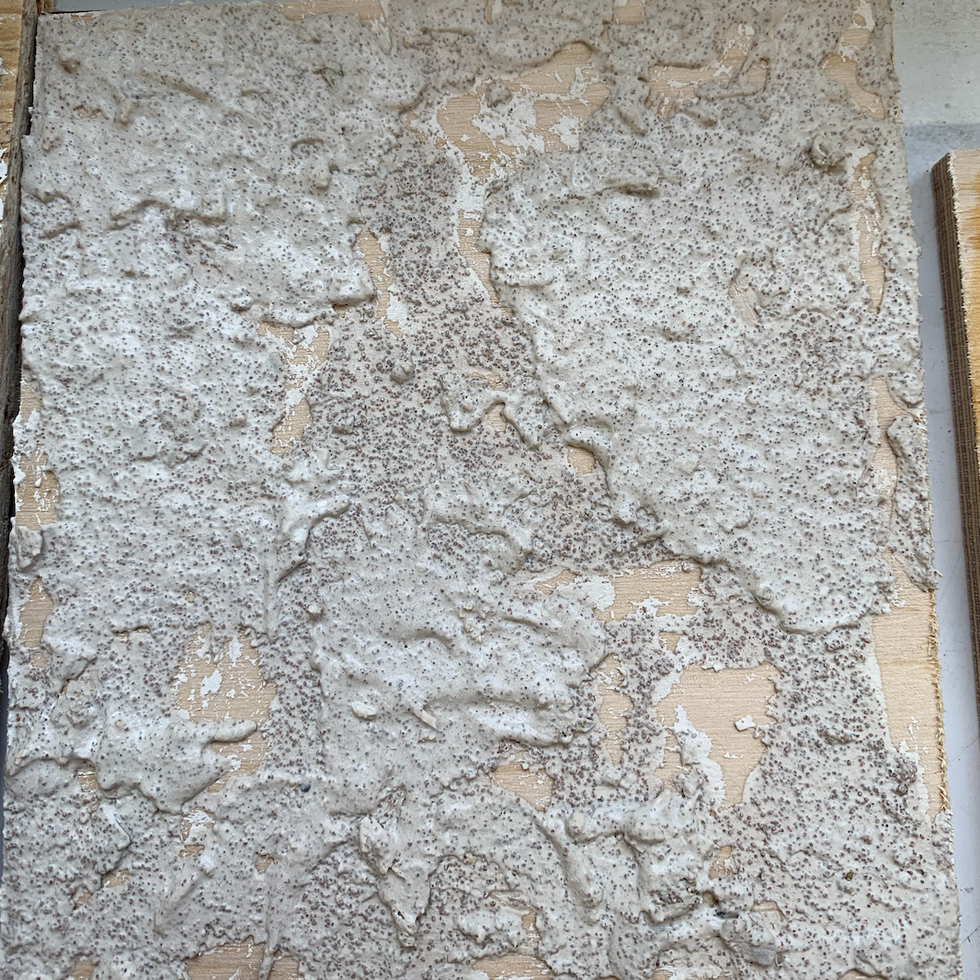


Here I have used the Button Varnish and the Artex on one of my brick samples, the art creates a really interesting effect which I think will be useful in some areas of my tunnel. However the Button Varnish has not had the same effect, due to the moisture being soaked into the foam. To stop this I need to make sure I coat the foam before applying any colour or moisture to it.



Comments