


Ageing & Sewage

To begin ageing the tunnel, I wanted to make sure to layer up on the walls to create a dirty grimy look to it, I used acrylic paint to add more and more texture to the walls. I used Polyfilla to create spikes of dirt built up on the roof. I also went for a walk and picked up a lot of moss, sticks, and plant roots to add to the walls and roof of my model, to create a cold, damp environment impression. Moss tends to like dark damp places, which is why I decided to add this as an extra texture on the inside of my model. Doing this I think has really added to the environment inside. I used super glue to attach all roots, moss and other found things.

I have also added a connection between the walkway and the bricks to represent the dirt built up along the tunnel, doing this also allows me to prevent any light seeping in from the LED lights sat underneath. I created this mound using mod roc which allowed me to play with the shape.

I then painted this a dark green colour to math the path. I have added to this by painting green up the walls to create the impression of the dirt spreading which it would with people living down there.
My next step was making the sewage... I mixed together PVA, Water, Sawdust and Fine Vermiculite adding in black and green acrylic, this turned into a nasty looking paste which was very messy to spread, however it gave the impression I needed.
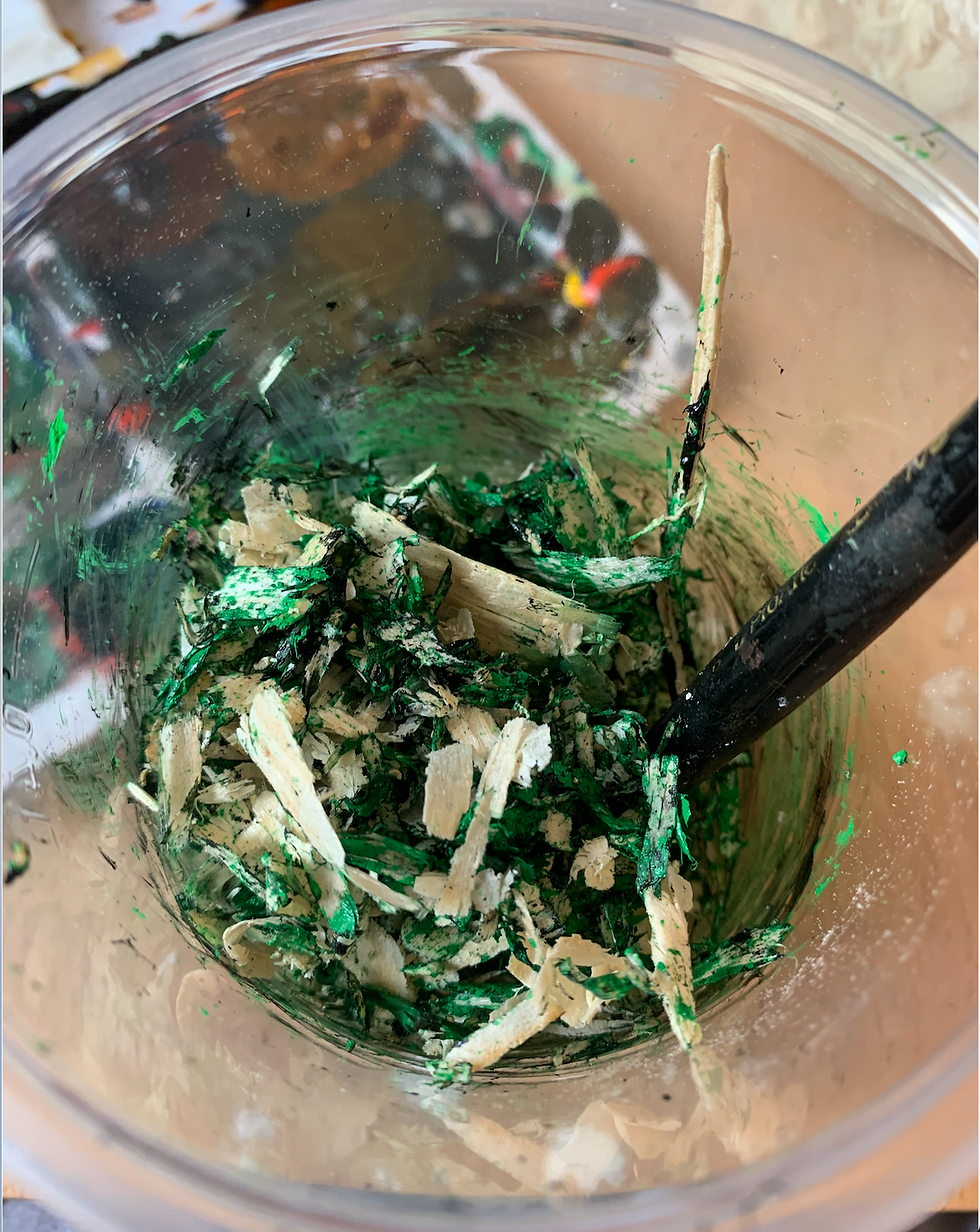
I spread this over the acrylic base of the sewer keeping gaps in between the sewage to allow light to still get through. I did have to change my plan at this stage due to a change of circumstances, without having access to a space to pour resin. So my next best thing was PVA glue and water. I purchased a water proof PVA glue by No Nonsense which has taken a while to dry, however it has eventually set in place and dried clear as I intended.

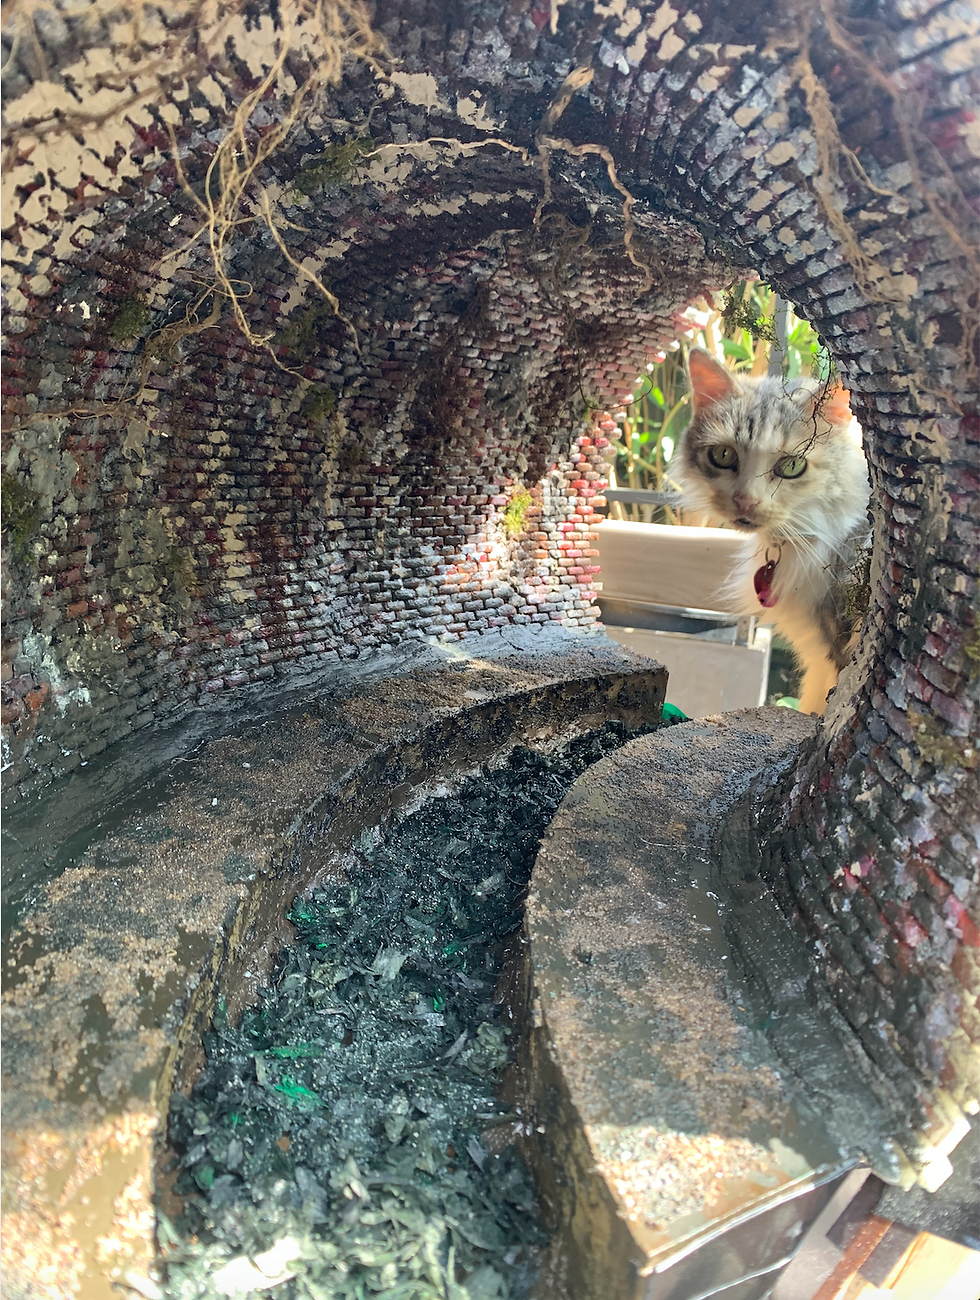
I watered the PVA down to roughly 60% PVA 40% water, which allowed it to run smoother and spread evenly. Even though my mixture was correct, I did need to keep moving my model to different locations to stop it from being in the way. I had to leave it outside for two nights where in a few sections they had leaked, thankfully this didn't effect the overall appearance of the glue. In all the glue has taken about 4 days to fully harden.

I decided to test to see how the light shines through the sewage which I think works really well. This is with inside light also, I intend on getting good photographs tomorrow to allow me to see the full image.



Comments