


Ageing & Sewage

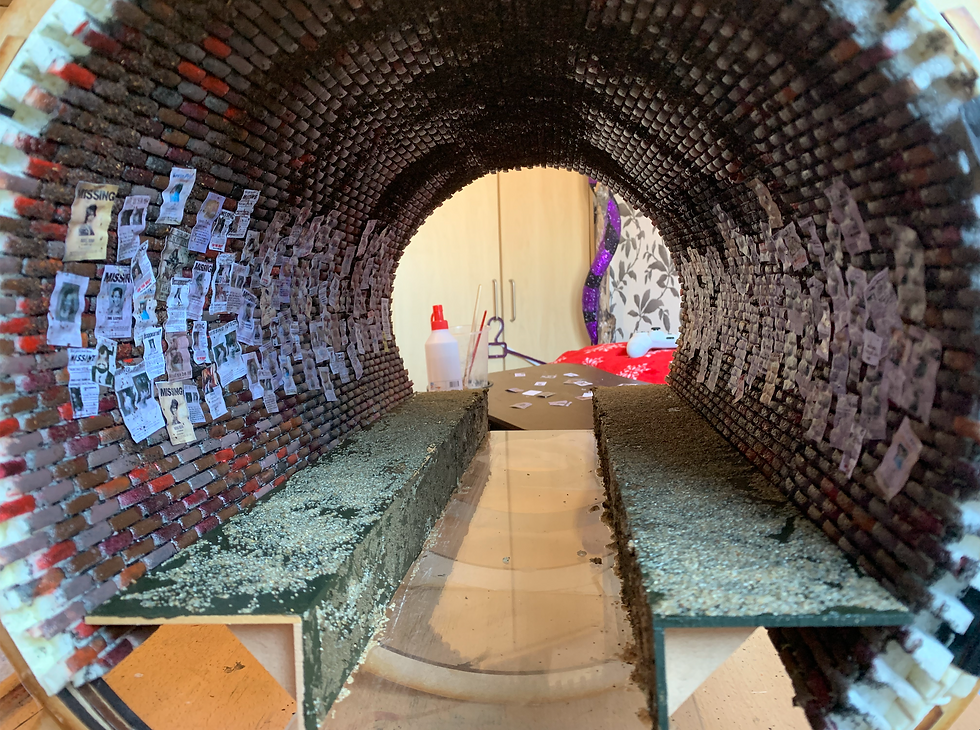
I have collected various missing persons posters from online to use for a missing persons section at the beginning of the tunnel. I want this to resemble all of the families living in the tunnels that lost a loved one in their transition into the tunnels. I printed and cut each poster out, and used a watered down PVA to stick the posters onto the bricks, I made sure the posters were wet to allow them to sit flush to the bricks surface.
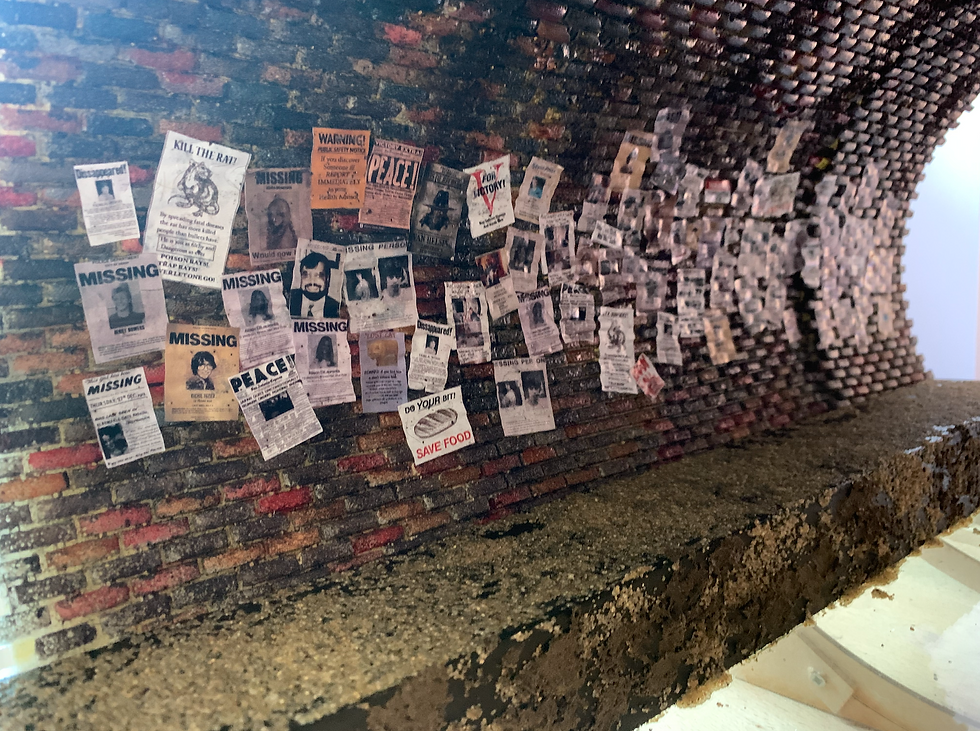
I also added in some of the signs and posters that I had created based on disease, food, war and hygiene. These will be placed throughout the tunnel.
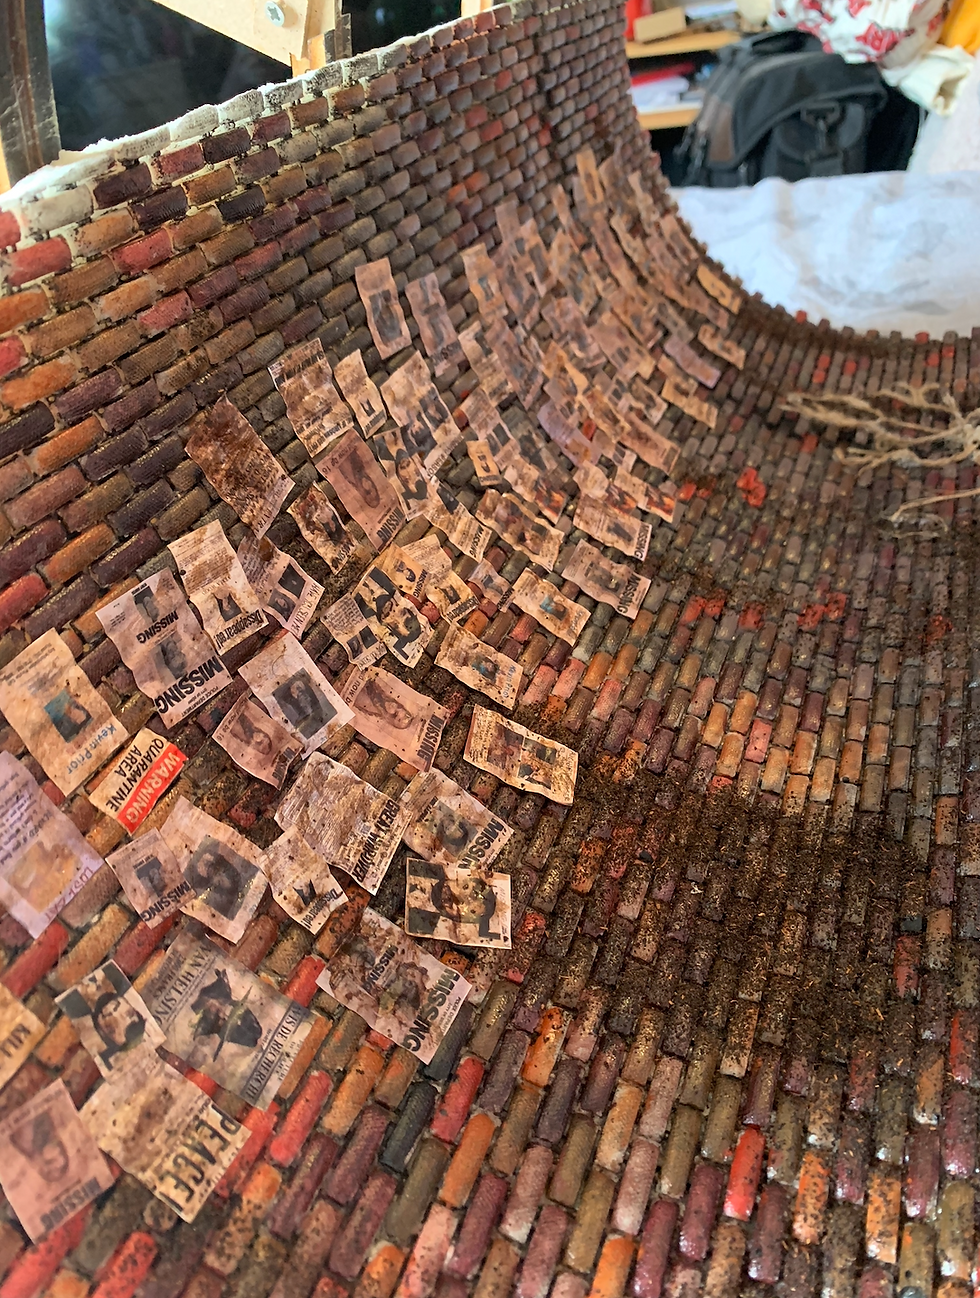
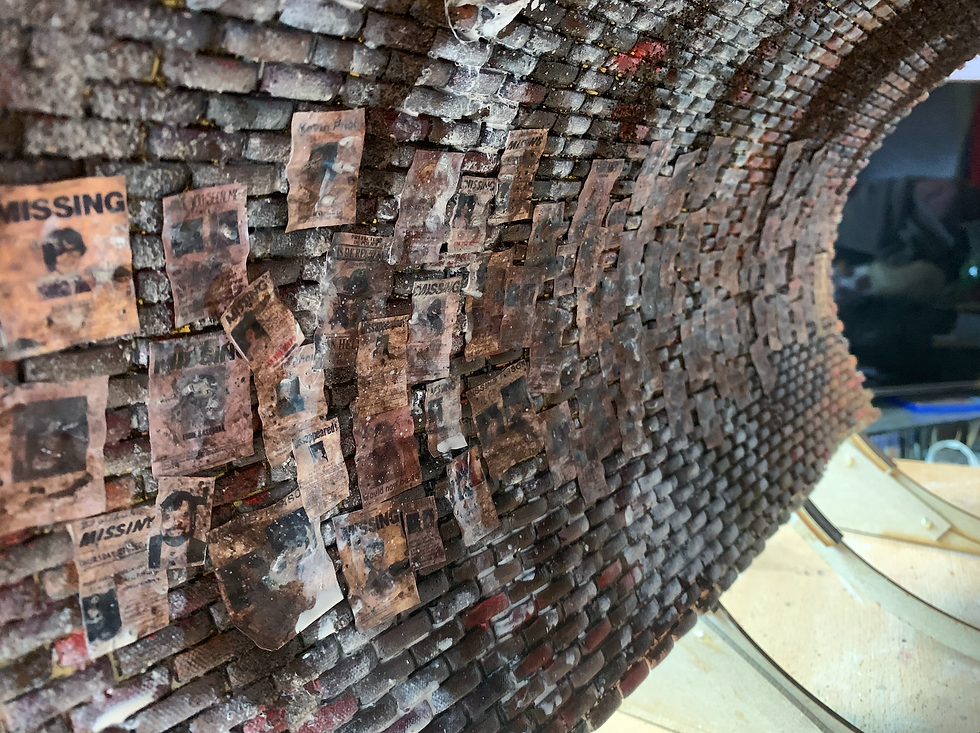
Using water colours I dirtied down the surface of the posters to to make them look very old. I am letting this dry and then I will be sanding down sections of the posters to make them look worn and damaged.
I began making the manhole which is the Neo-Sapiens escape route. Using foam board and left over expanding foam bricks I was able to construct the upwards tunnel. I have created a base coat of black for the escape tunnel, to stop any light from leaking in. I have used hot glue to attach the two parts together.
Here are two reference images I have been using to create the ageing of my bricks. I was really drawn to the appearance and texture of the walls. It looks dark and dirty which is how I want my model to end up looking.
As a first layer to create the same effect as my reference images I used a watered down acrylic paint, wetting the surface first and then allowing the paint to run down the sides of the tunnel. This effect has worked really well to create the limescale/ salty walls.
I used Modroc and air drying clay to create the sides of the sewage build-up, this is to represent the muck and nastiness that becomes built up along the edges of a sewer, also known as 'fat bergs'. I also used crumpled up tin foil to add texture to the air drying clay. My next step is to make some more textured surface along the base of the sewage to make it look more dense and full of sewage, I will be creating this using fine vermiculite, PVA and sawdust.
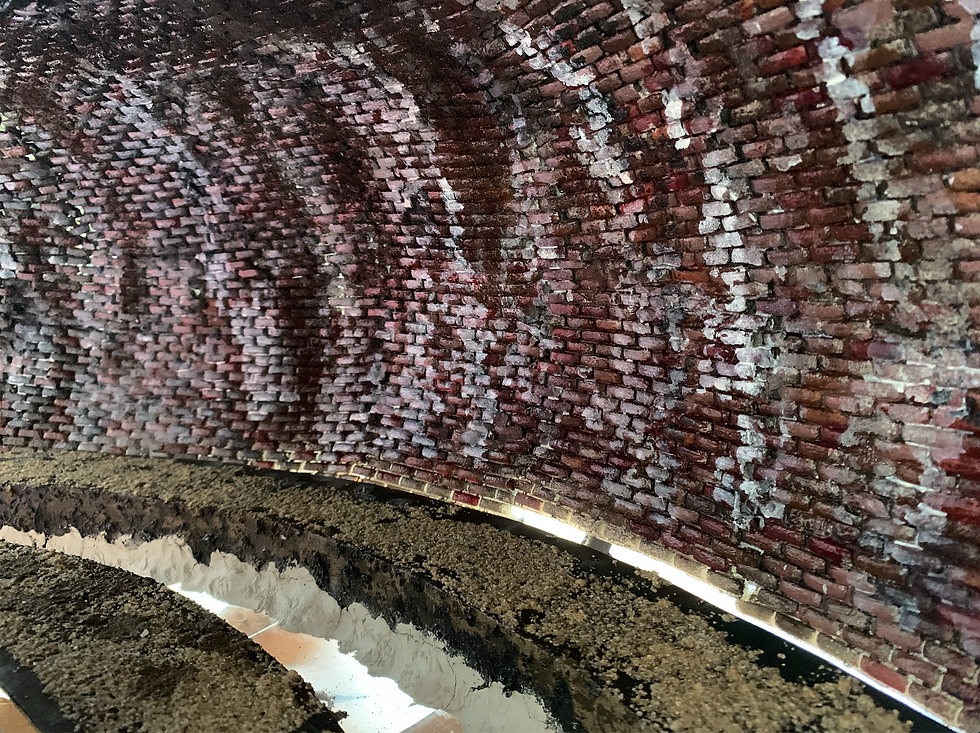
Here is an image of the texturing so far that I have created, illuminated by the LED light that I will be using. The white sections become really visible using the light.
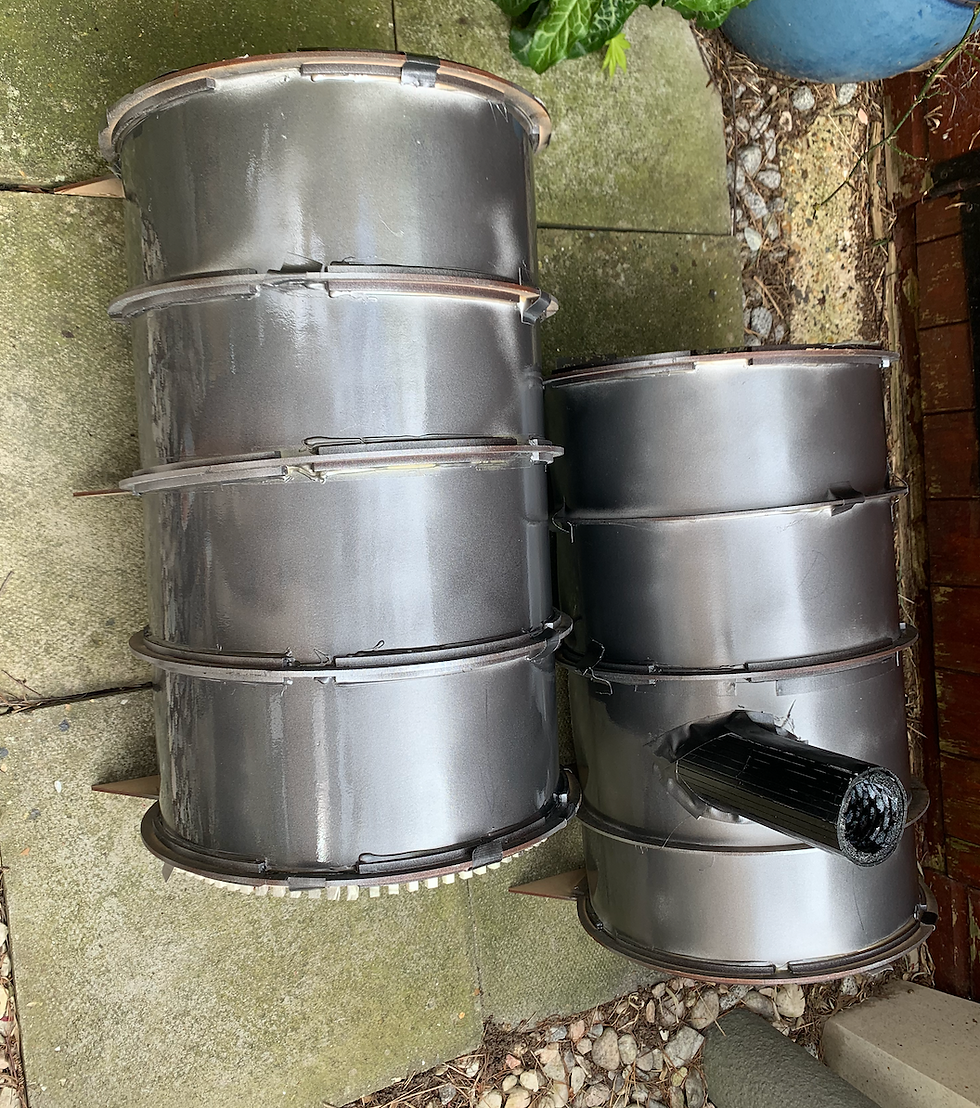
To block out any light coming in through the Kapa-line board I spray painted the outside with the only spray paint I had. This has reduced the amount of light, however it hasn't completely gotten rid of the light coming through.
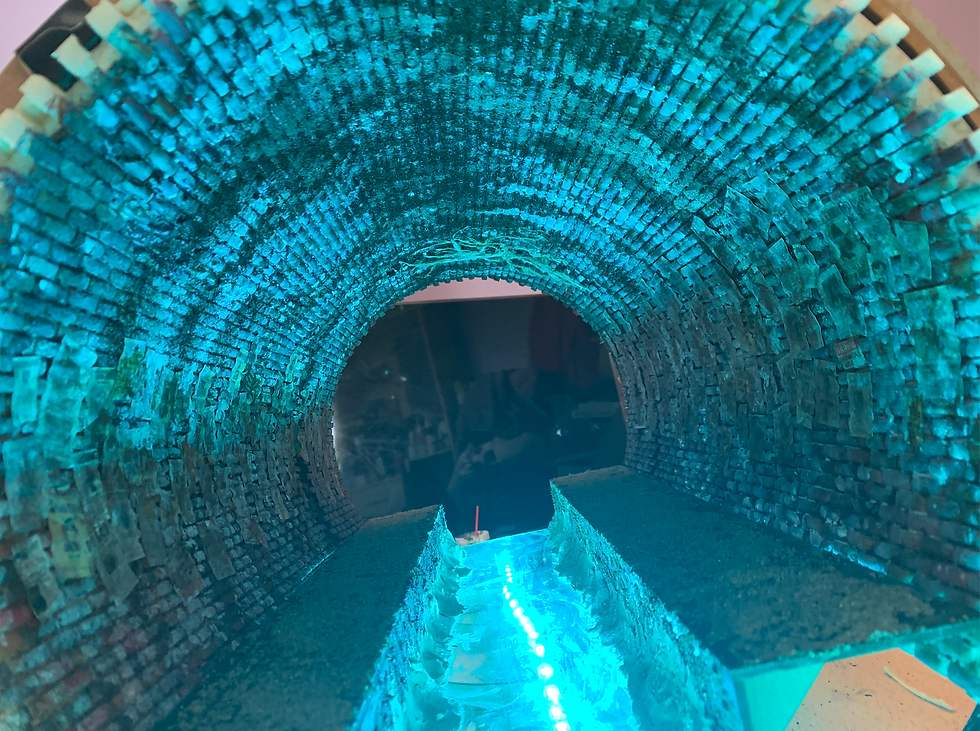
To create a water effect, I have ordered an acrylic based medium (Vallejo Still Water) that Is meant to look like still water. It won't be enough to fully cover the base however, I can also add in some gloss in layers to allow the surface to build up. I could also use PVA or gel mediums to create the same effect.
I have also been collecting roots from my garden to use on the roof of my model to resemble tree roots growing through, as I don't think the string approach is visually correct.


Comments